PageMaker: Masking
Masking means cover or frame the object/image with a shape, through which you can see the object. For this you require one image and a polygon shape. Now, follow below steps.
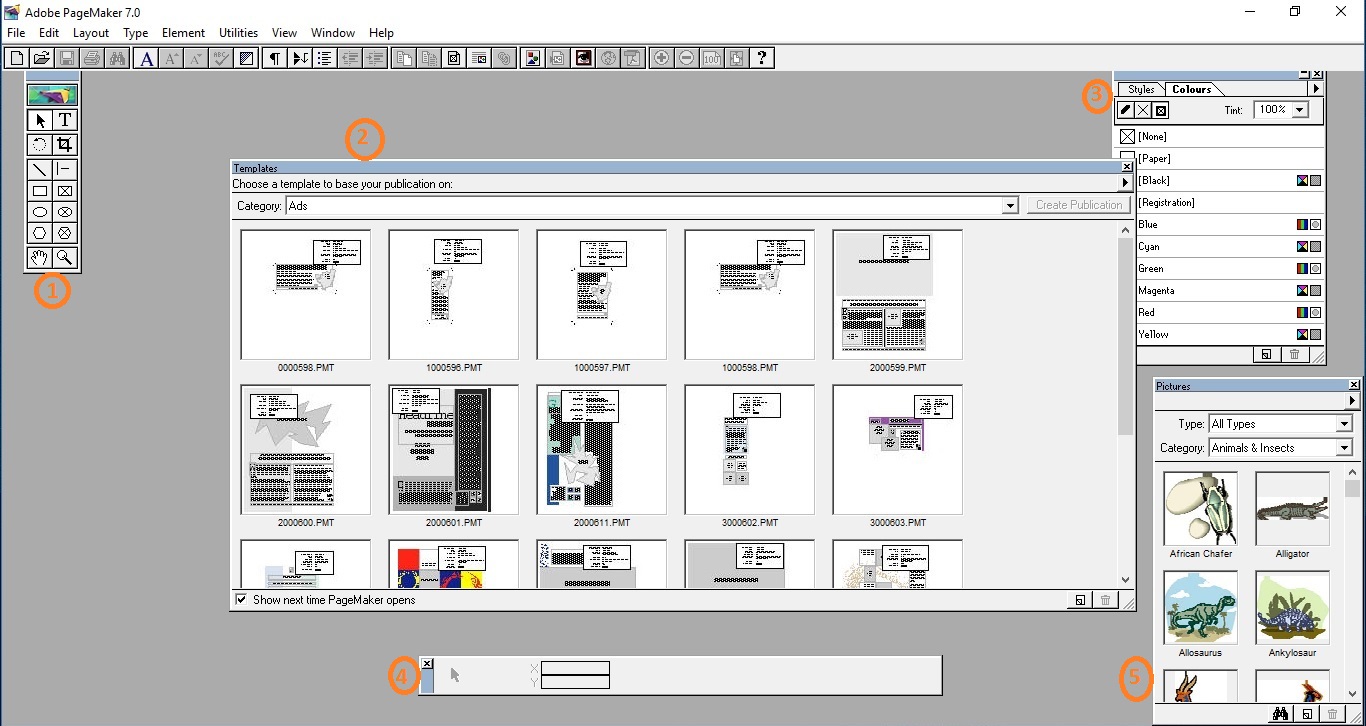
Open Adobe PageMaker and click File menu then New which opens the Document Setup window. Now, select PageSize as Letter and Orientation Wide. Check the image below to set the remaining fields.

Click Ok to proceed to next
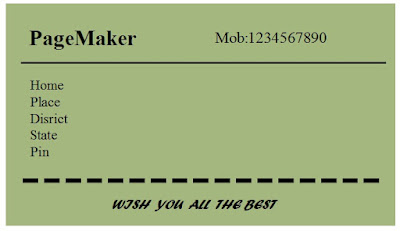
Add the picture into the document you just created. You can select image through picture palette or by going to menu and select File->Place(or Ctrl+D) and select the picture you like and drag in your document [In this method when you select an image your mouse pointer will change then click drag your mouse pointer]
Click to learn the basics of PageMaker
Now select Polygon tool from the tool box and select Element from menu and click Polygon settings. In this window you can change the sides and radius of your polygon. Refer below image:

The Star inset let you change the desired inner diameter of your polygon.
When your setting are finished select the polygon tool and click and drag your mouse on the document to draw the polygon with your changes in effect. See the image below

Now, place the polygon you drew on the the image. For that you must select the polygon by clicking on its border using pointer(arrow) tool. On clicking it you can see small square dot around the polygon. Now you can move the polygon by clicking and holding on on polygon(not on dots). To change the size of polygon you must do the previous and click and drag only any dot mark on the corners of the polygon. To darken or increasing the thickness of the polygon border, click on Element menu and select Stroke and choose your desired thickness. After the getting the required things, select both image and polygon. To do that just hold the shift key and click on image and click on the border of the polygon.


To undo masking, while both image and polygon are selected, just go to menu Element then select Unmask.

Comments
Image Masking Services
Click hear: https://www.clippingpathcenter.com/clipping-path-vs-masking/